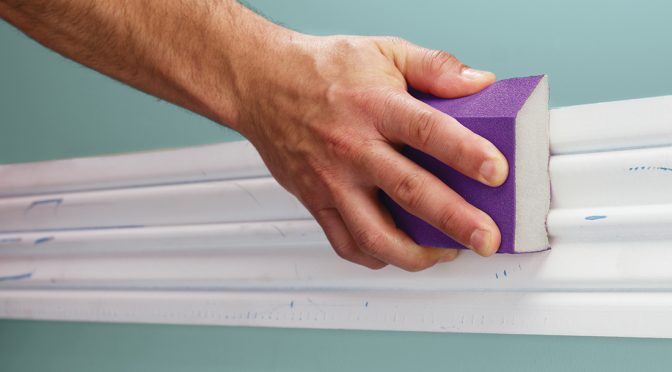
Most painting contractors agree that, while sanding is necessary for truly professional results, it’s a task they wish they could avoid or cut short. But time spent here preparing the surface for paint, stain or coatings can make all the difference for your business.
Since sanding is often assigned to the newest hires on the paint crew, a review of sanding basics will help. We sat down with the technical services team in 3M’s Construction & Home Improvement Markets Division to compile this painter’s guide to sanding.
Why sand?
There are several reasons for sanding. One way to break it down is by the effect you’re trying to produce. Here are three of the most common:
1. To strip a surface of previous coatings
- If the goal is to take a surface back down to bare wood for refinishing, start with a rough abrasive of 60 or 80 grit.
- Once down to bare wood, move to a finer grit to smooth the surface.
2. To smooth a surface
- Previously painted or coated surfaces often require the most attention.
- First, if the paint is loose and flaky, it should be scraped or powerwashed prior to sanding.
- The goal for sanding here is to feather the edges in so that there aren’t ridges between where the paint flaked off and where it stayed in place.
- Use an abrasive of 100 to 150 grit.
3. To provide better adhesion
- There are other things to consider when you need to finish a previously coated surface – or are sanding between coats to give the next coating some mechanical bite for good adhesion.
- The key to paint adhesion is a smooth surface … but not too smooth. For example, furniture that has a clear coat or woodwork that’s been painted with oil-based paint is too smooth to get good paint adhesion.
- In these cases, the surface needs to be scuffed with a 180 to 320 grit abrasive prior to refinishing.
- The coating you’re scuffing needs to be fully cured prior to sanding so it powders rather than gums.
How different surfaces will impact your approach
For most insights on how to sand the many different types of surfaces you’re likely to encounter, see our companion story Sanding: How Different Surfaces Will Affect Your Approach.
Note: Read before sanding!
*WARNING! Removal of old paint by sanding, scraping or other means may generate dust or fumes that contain lead. Exposure to lead dust or fumes may cause brain damage or other adverse health effects, especially in children or pregnant women. Controlling exposure to lead or other hazardous substances requires the use of proper protective equipment, such as a properly fitted respirator (NIOSH approved) and proper containment and cleanup. For more information, call the National Lead Information Center at 1-800-424-LEAD (in US) or contact your local health authority.
More resources
Get more expert surface prep insights in our story, The Pro Painter’s Guide to Masking: Tips, Techniques and the Latest Technological Advances.
This article was originally published in the Summer 2018 issue of PPC magazine. It was developed in collaboration with the technical services team in 3M’s Construction & Home Improvement Markets Division. For more information, contact Michelle Rookey, Technical Service Manager, at mjrookey@mmm.com.

