
Here are five things to remember when taping your paint project, according to the surface prep experts at 3M.
- Be sure to remove electrical outlet covers, vent plates and other removable fixtures before you measure and paint.
- It’s strongly recommended that a primer be applied to the surface before painting. Priming provides
a good base for paint to stick to, and can also reduce the number of coats needed. It can also reduce the likelihood of paint peeling off the surface when removing the tape. - When masking long stretches of trim, speed up the job by using a tape applicator that’s designed to be placed flush against trim to mask quickly and easily.
- Curved surfaces such as stair edges, rounded windows, or hardware and fixtures call for a tape with a polyethylene backing. Poly- baked tapes conform to curves and corners and remove in one piece without slivering or tearing.
- Trim and doors often require wider tape in order to cover the whole surface, or to wrap around corners.
Bonus: What to do if the tape won’t stick
- Chances are there’s dirt or moisture on the surface you’re trying to adhere it to. Clean and dry the surface, and then apply the tape.
- The type of paint you’re using could affect the tape’s ability to adhere.
- If you’re working with a hard-to- stick-to paint like a zero VOC paint, a dark color or highly scrubbable paint, press the tape down along its entire length a couple of times to ensure that it sticks well.
- Environmental conditions can also affect tape adhesion. High humidity is a particular problem with some paints. If you’re painting in really humid conditions, use a higher adhesion tape.
Related stories
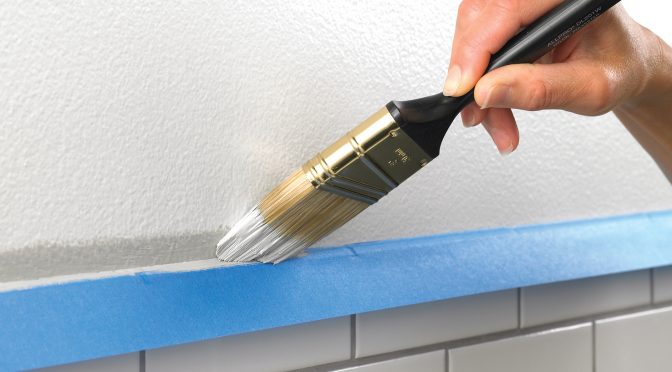
Photo courtesy 3M. Sherwin-Williams is a single-source supplier for everything you need for all your projects. There are more than 4,300 locations in North America. Find the store nearest you